

Introduction to webpack with ES2015 and React
The good old days when a webpage had just few JavaScript and CSS files are gone, now our web apps grow bigger and more complex every year.
And how to manage and develop all that code? First was Grunt but quickly replaced with Gulp and Browserify, which are great. But configuring them properly takes too much time. Fortunately for us developing tools are also evolving and Webpack comes with lots of functionalities ready out-of-box which can significantly speedup process of creating software.
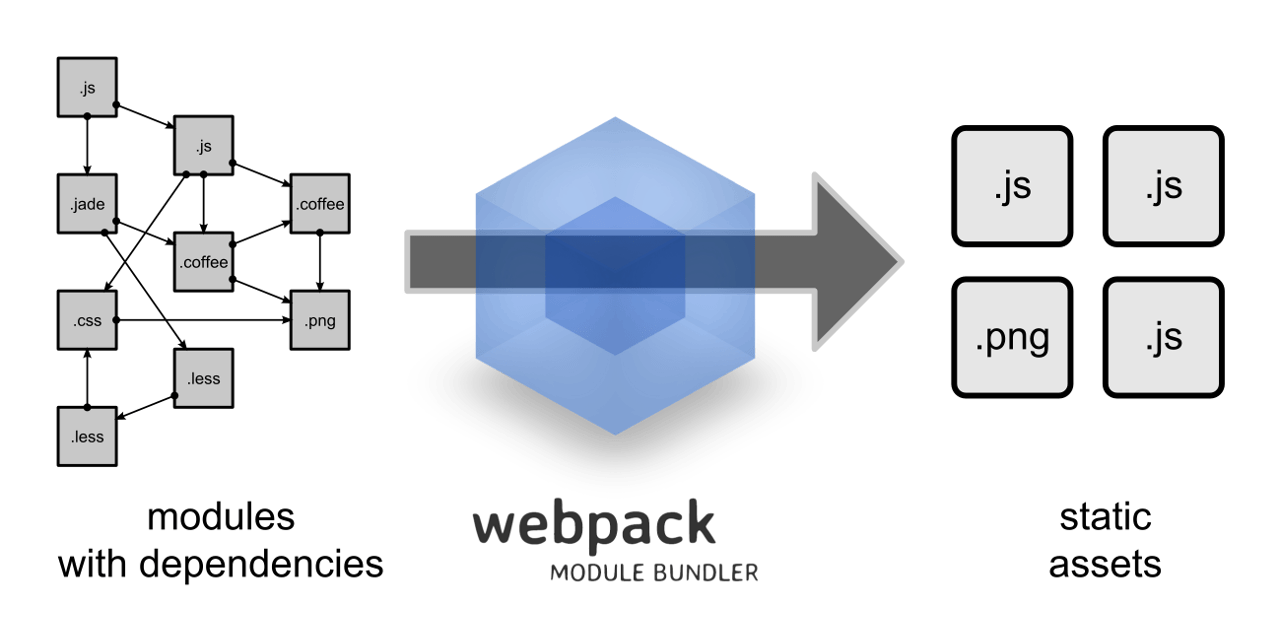
How does webpack work? Like every other packer, it takes source files and combines them into bundle files. In this post we will create a webpack project from scratch, learn how webpack works and how it fits in your workflow.
Pre-configuration
Before we start make sure you have npm installed and project directory set.
https://gist.github.com/mdoff/543589db8ea248a81a57
After creating package.json file better make sure if there is "private": true option, because we don’t want to submit our project to npm repository.
https://gist.github.com/mdoff/2778f0cf5d2e9827c4e1
Let’s see how it look in examples.
Basic configuration
Let’s start with creating a module. In this case it will be a plain string and name it print.js
https://gist.github.com/mdoff/71f2e66206cfc946918a
In next step we will create index.js file which imports print module and write it on screen.
https://gist.github.com/mdoff/7845af4d7b653a5bda32
Now we can run webpack. As the first parameter goes source file and as second a destination filename.
https://gist.github.com/mdoff/e58db2d7bae18e6ee7b0
To run our code we need HTML template:
https://gist.github.com/mdoff/2a891527c5d1cfde33b9
Now you can open index.html file in the browser and see the result. It’s not very impressive example but shows the idea behind webpack.
Now, we’ll try to configure webpack to create bundle.js without providing any parameters from command line, because any bigger project will require some additional options. Create a webpack.config.js file.
https://gist.github.com/mdoff/b3fc8ce8f9460235e1dc
This is really most basic configuration, which points on one entry file and one output file. After running a webpack (without any parameters) command result should be exactly the same as the previous one.
And what if we want to include some CSS stylesheets? Webpack can handle it too. But first lets organize our code into a src and dist folders.
So now our project structure looks like this:
https://gist.github.com/mdoff/d03446a75367b92bde06
webpack.config.js
https://gist.github.com/mdoff/ee452191e66771d88a26
style.css
https://gist.github.com/mdoff/21ac1cd11865c38804da
Of course we need to change src value of <script> tag in index.html file to ./dist/bundle.js. To include stylesheet just use require in index.js
https://gist.github.com/mdoff/fa142c429e7c146f4513
But after running webpack command we might get errors like:
https://gist.github.com/mdoff/9051e7b29f542ffe9a33
Yes, we can use require for CSS, but we need a loader. What loaders do is they take files and transform them into a format usable in the project. They can, for instance, transform your CoffeeScript into Javascript. For more detailed description click here.
In this case we need style-loader and css-loader
https://gist.github.com/mdoff/5835a386706934316eb6
And alter index.js file to
https://gist.github.com/mdoff/e83f09f219c7838f52d5
Loaders can be specified in require separated with !.
Now running webpack should go without a problem, and effect should look like that:

We can avoid adding loaders in require statement by adding loaders in webpack config, which I think, is better practice.
https://gist.github.com/mdoff/81c6dcc29789fce1bb58
So now we have one entry in loaders array, which is used to contain automatically applied loaders.
Each loader must have test property which is a RegEx for filename (otherwise file would not be processed by loader) and loaders property containing array of used loaders (or loader which contains loaders separated with !).
Full example is available here.
If you are wondering how to serve this example to the browser, just use webpack-dev-server, remember that it needs to be installed globally.
https://gist.github.com/mdoff/f1705fedf4173650525f
And then run it form command line
https://gist.github.com/mdoff/6882740709dac7f961e7
HTML templates and separate CSS file
Our configuration is starting to look better, but still we are using index.htmloutside dist directory and CSS is included in bundle.js. Let’s create separate files for stylesheet and template HTML file. For that let’s get familiar with plugins.
Plugins are used to add functionality related to bundles.
https://gist.github.com/mdoff/047587a486545b24d9d7
https://gist.github.com/mdoff/40c6c8f686cace1f4f65
https://gist.github.com/mdoff/45cee824315cf0124707
Our webpack config file become a little bigger now, let’s have look at the changes.
https://gist.github.com/mdoff/0ff1cf1995a88c7f1d67
Requiring previously installed loaders.
https://gist.github.com/mdoff/51bdba2561dccb79b595
We changed the CSS loader, now it uses extract-text-webpack-pluginplugin to separate CSS file.
https://gist.github.com/mdoff/965b98958cc7b97d5520
New property plugins is an array that holds all plugins.extract-text-webpack-plugin – moves every CSS style into a separate output file and the styles are no longer inlined into the JavaScript.html-webpack-plugin allows to use an HTML template for our project, and automatically insert stylesheets in link tag and webpack output files with script tag. For more detailed description you can go here.
Full example is available here.
Adding support for ES2015 and React
Now, when we know how webpack works we’ll try some more advanced configuration.
We will be using ReactJS with JSX and ES2015 syntax. Since even modern browsers don’t handle full specification of latest JavaScript version, files needs to be transformed into ES5 and for that we will use Babel. To help ourselves with the development we will create separate config files for development and production.
Another killer-feature we will be using is Hot Module Replacement, it allows to update code in the browser without reloading it while state of modules remains unchanged.
Let’s install required npm packages:
https://gist.github.com/mdoff/360dc279cbd0c5a9d863
You may wonder what babel-preset-react and babel-preset-es2015are, but first what actually Babel is? It’s a generic multi-purpose compiler for JavaScript, allows for example to transpile ES2015 code to old ES5. But every functionality in Babel is actually a plugin and set of plugins is called “preset”. If we don’t want to assemble our own plugin list, we pick one of preset plugin packages provided by Babel. In this case we used react and ES2015 presets.
If we are gonna use Hot Module Replacement with React we also need to install this:
https://gist.github.com/mdoff/44b8d5418bbc0372b7d2
I’m assuming, that all packages from previous examples are also installed.
First we need to configure Babel to use previously installed presets and plugins. Let’s create .babelrc file with following content:
https://gist.github.com/mdoff/ca4c30657c3456ff1967
In presets we put a list of presets we use, env property is object of keys that represent different environments (in this case only development). Our development environment will use react-transform plugin and transform code using react-transform-hmr.
Our new webpack.config.js file:
https://gist.github.com/mdoff/48d86fd331919c969216
It’s only a little bigger then previous one, so take a look on differences.
https://gist.github.com/mdoff/e94c90790a5f353341c0
Turns debugging on, now we will see errors in our code and not in the code Babel produced.
https://gist.github.com/mdoff/aecc54992f7cbcfff2d3
Tells our webpack-dev-server that we will be using HMR.
https://gist.github.com/mdoff/d9e10375bb8e54a6fcdb
Adding Babel as loader for .jsx files so now all files matching /\.jsx$/ RegEx will be transpiled by babel-loader using configuration defined in .babelrc.
https://gist.github.com/mdoff/16fd14a4b34027a0f1fc
Including webpack Hot Module Replacement Plugin.
For demo project source you can go here
Running our dev server is now a little different, we need to enable inline mode with flag:
https://gist.github.com/mdoff/382a8b07cf83cef7e3b7
Inline mode adds a webpack-dev-server client entry to the bundle that allows notifying about every change we make in code.
And what if wee need to push our project on production? Create new file called webpack.config.production.js and copy content from previous webpack config. Let’s change output path to:
https://gist.github.com/mdoff/31957a6dd35be2c3eeb7
Note: __dirname is a Node global object which contains name of the directory that the currently executing script resides in.
Remove devtool, devServer options and HMR Plugin and we are good to go.
https://gist.github.com/mdoff/9e6b5031dfbe4328462d
Option -p in webpack will perform code optimization and minimization.
Before we finish we can take advantage of npm scripts so we don’t have to type that long commands for starting dev server and deploying code on production.
In package.json we add:
https://gist.github.com/mdoff/ad6307f111986b62e86f
Webpack --config option allows to select specific configuration file.
So now running dev server is npm run dev and deploy is npm run deploy.
Full example is available here.
Do you like this post? Want to stay updated? Follow us on Twitter or subscribe to our Feed.
See also
More on frontend

Authors

I'm JavaScript and frontend developer, after some time as Full-Stack I decided to focus more on the front part of projects because it's what I enjoy the most.
Popular Posts in category
Looking into Scala.js

Your first microservices using Scala and Lagom
Handling Split Brain scenarios with Akka